Orange Tree Golf Club’s challenging 18-hole championship course is a stern but fair test of a golfer’s game. Tour each hole with a playing tip from our golf professionals by clicking a hole number below.
Be sure to view our signature holes: #1, #11, and The Loop: #16, #17, #18.
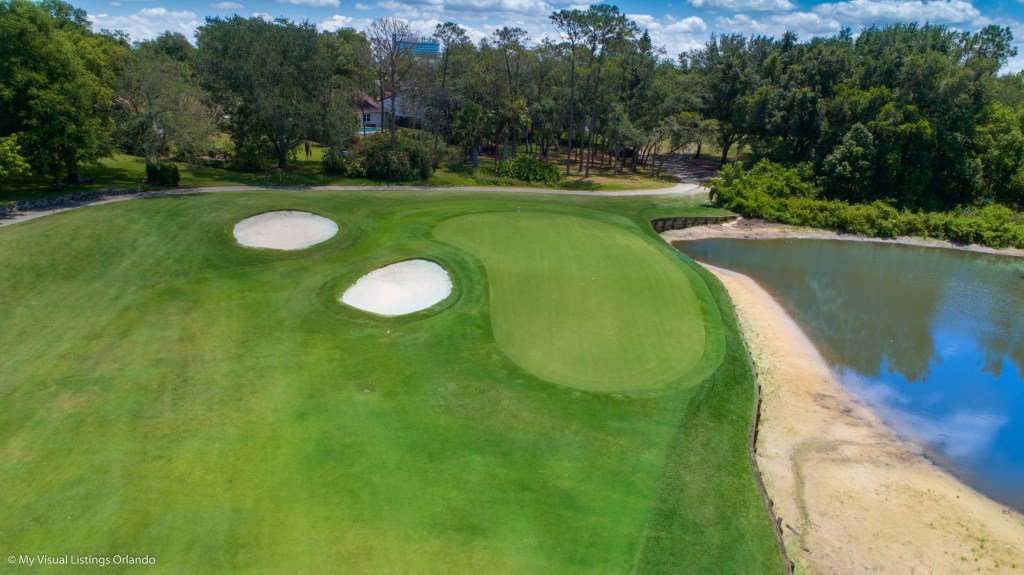
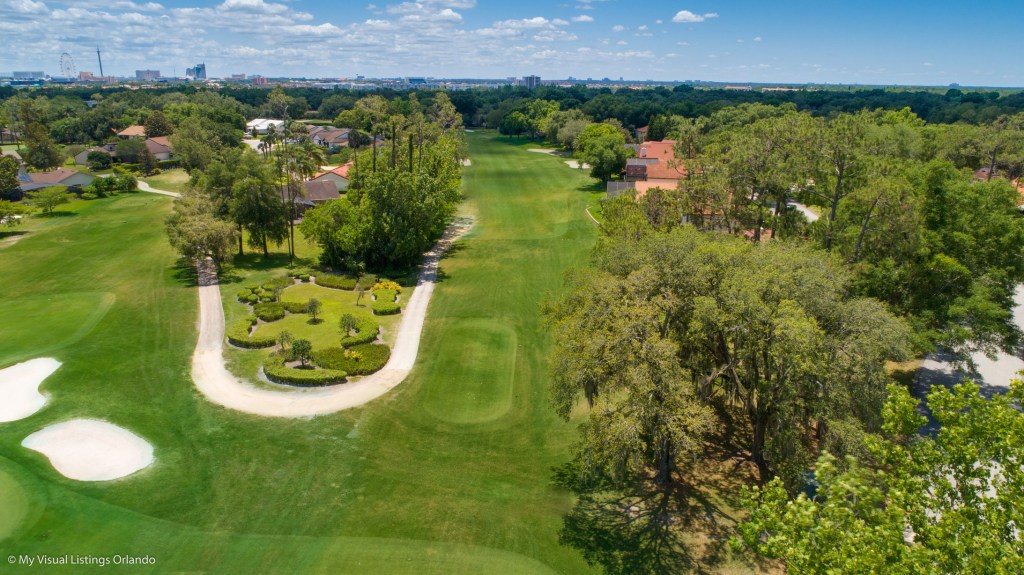
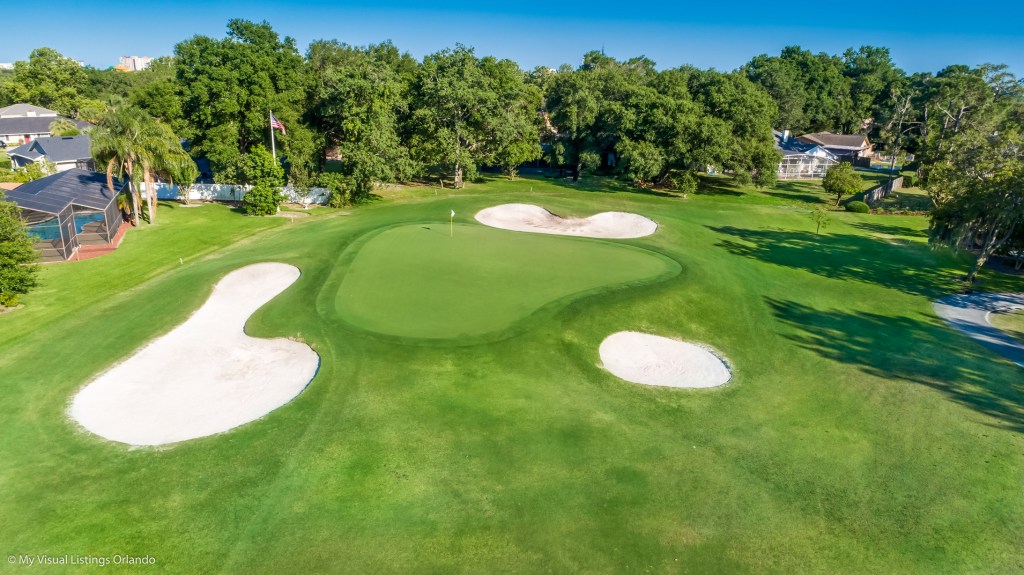
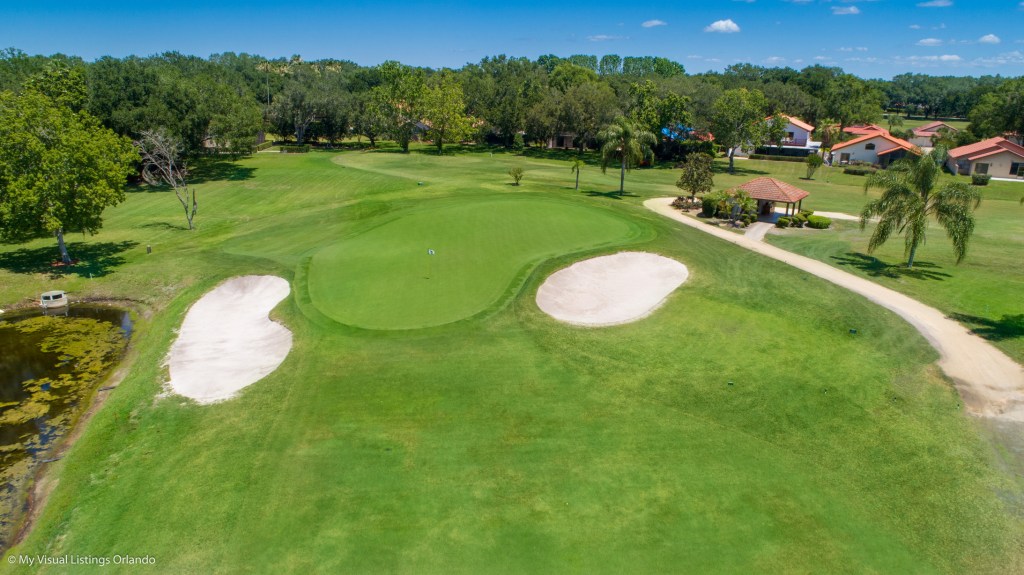
Hole #1
Par: 5
| ● 566 | ● 552 | ● 532 |
| ● 503 | ● 409 | ● 369 |
This opening three shot par five is a dogleg left and the #1 handicap hole for a reason. A lay-up shot down the right side of the fairway will set up a short club into this undulating green that slopes hard toward the water.
Hole #2
Par: 5
| ● 525 | ● 499 | ● 464 |
| ● 422 | ● 375 | ● 318 |
Rear back and hit a good drive here but don’t forget about OB on the left and the penalty area down the right. This par 5 is reachable by the longer hitters. Avoid the greenside bunkers and keep your ball on the correct tier on this green.
Hole #3
Par: 4
| ● 378 | ● 370 | ● 342 |
| ● 327 | ● 312 | ● 246 |
This tee shot requires precision down the left center of the fairway with bunkers on the left and large oak trees on the right. Avoid the front bunkers on the second shot and you could have a good look at birdie.

Hole #4
Par: 4
| ● 431 | ● 395 | ● 379 |
| ● 329 | ● 305 | ● 236 |
Hit your driver to this larger fairway that funnels toward the middle. Avoid the left bunker and you will have a scoring club into this large green that slopes back to front.
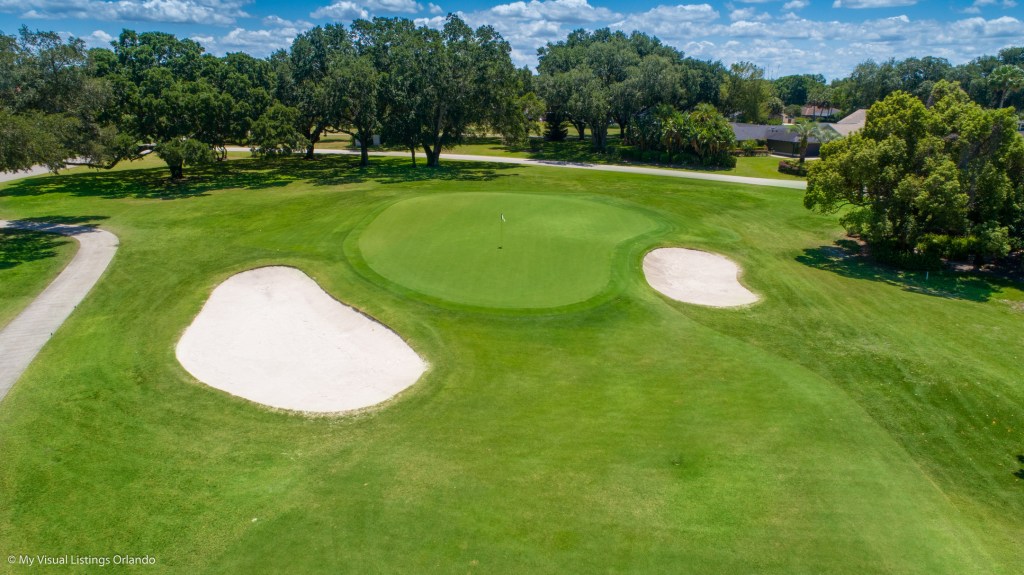
Hole #5
Par: 3
| ● 182 | ● 171 | ● 157 |
| ● 134 | ● 126 | ● 105 |
This par 3 has two big tiers and is surrounded by bunkers. Hit it hole high and you will have a chance at birdie.
Hole #6
Par: 4
| ● 381 | ● 372 | ● 362 |
| ● 333 | ● 319 | ● 264 |
Hit your fairway finder. This narrow par 4 has OB down both sides of the hole. Avoid the deep bunker at the front of the green on your second shot.
Hole #7
Par: 3
| ● 206 | ● 195 | ● 181 |
| ● 167 | ● 139 | ● 104 |
Our hardest par 3 on the course requires an accurate tee shot to a two-tiered green. Par is a great score here.
Hole #8
Par: 4
| ● 384 | ● 372 | ● 356 |
| ● 321 | ● 311 | ● 256 |
This shorter par 4 is a straightaway hole, but find the fairway as the green is one of the hardest to hit on the course. If the pin is on the right side, keep your second shot left of the hole, and pin high is key.
Hole #9
Par: 4
| ● 444 | ● 392 | ● 376 |
| ● 333 | ● 324 | ● 278 |
Hit it high and hard on this dogleg left par 4. Avoid the large oak trees on the left for a shorter second shot. Make sure to select the correct club to our largest green.
Hole #10
Par: 5
| ● 502 | ● 492 | ● 474 |
| ● 456 | ● 411 | ● 356 |
This par 5 is reachable for most longer hitters as it doglegs slightly to the left. Avoid the small pot bunker short right of the green and a birdie is attainable.
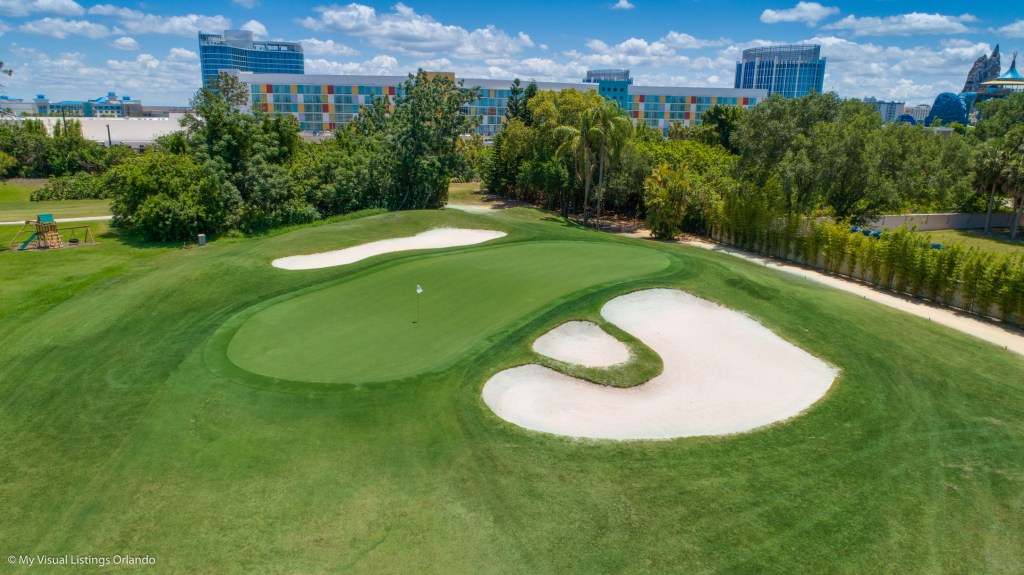
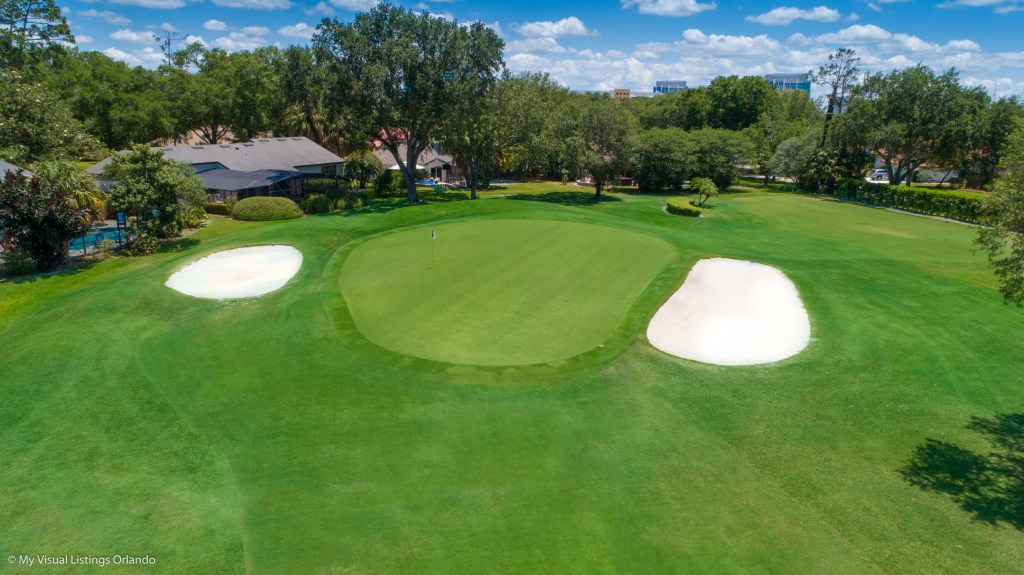
Hole #11
Par: 3
| ● 197 | ● 162 | ● 150 |
| ● 137 | ● 122 | ● 84 |
This intimidating par 3 is friendlier than it looks. Keep your tee shot to the right side of the green regardless of hole location. The left side of the green slopes away from the player and is difficult to hold. A two putt from the right side is the goal.
Hole #12
Par: 4
| ● 418 | ● 394 | ● 370 |
| ● 333 | ● 294 | ● 252 |
This par 4 requires a precise tee shot just short or left of the right fairway bunker and a mid-iron for most players to a larger green that slopes mostly left to right. Four is a good score here.
Hole #13
Par: 4
| ● 386 | ● 364 | ● 348 |
| ● 312 | ● 302 | ● 243 |
This hole demands a precise tee shot down the left center of the fairway to provide the best angle on this dogleg right par 4. Avoid being over this green as out of bounds creeps up quickly.
Hole #14
Par: 4
| ● 384 | ● 375 | ● 353 |
| ● 325 | ● 293 | ● 245 |
This narrow par 4 requires placement off the tee with water all down the left side of this hole and OB down the right. The green slopes mostly left to right and a pin high approach is the key.
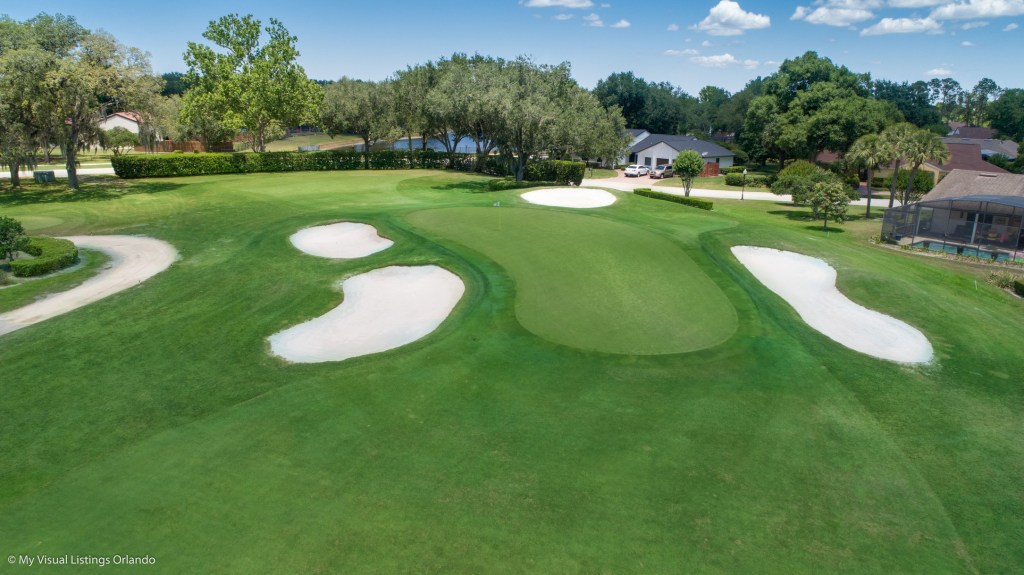
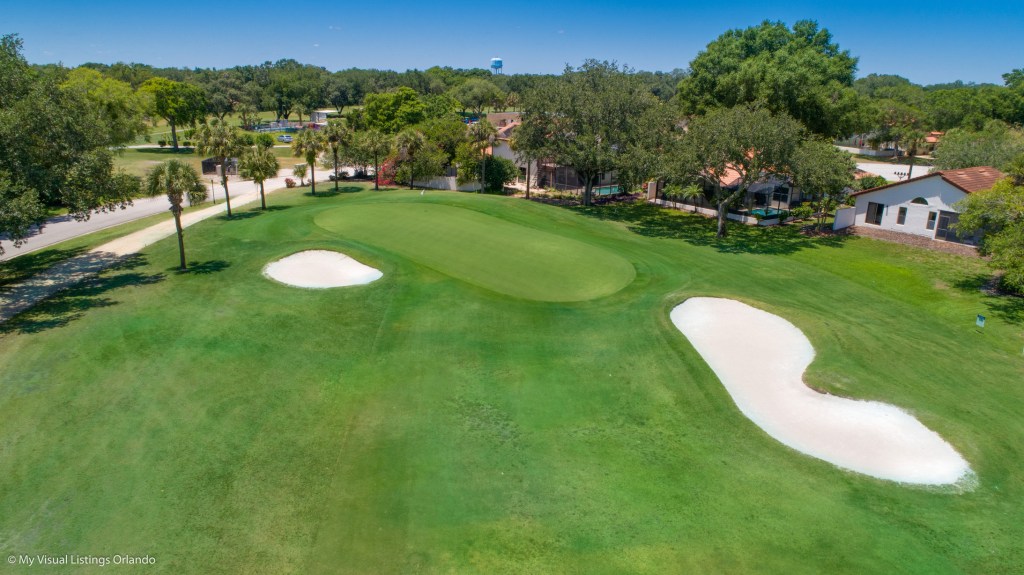
Hole #15
Par: 4
| ● 393 | ● 377 | ● 353 |
| ● 335 | ● 325 | ● 276 |
A straightaway par 4 with a fairway that slopes mostly right to left. This green has many hole locations. Make sure you’re on the right plateau.
Hole #16
Par: 5
| ● 564 | ● 539 | ● 522 |
| ● 437 | ● 428 | ● 357 |
Our famous finishing holes, The Loop, starts with this par 5, and is reachable for some of the longer hitters. Avoid the water down the right and OB down the left. A good layup down the left center of the fairway will give you a short wedge into this very undulating green.

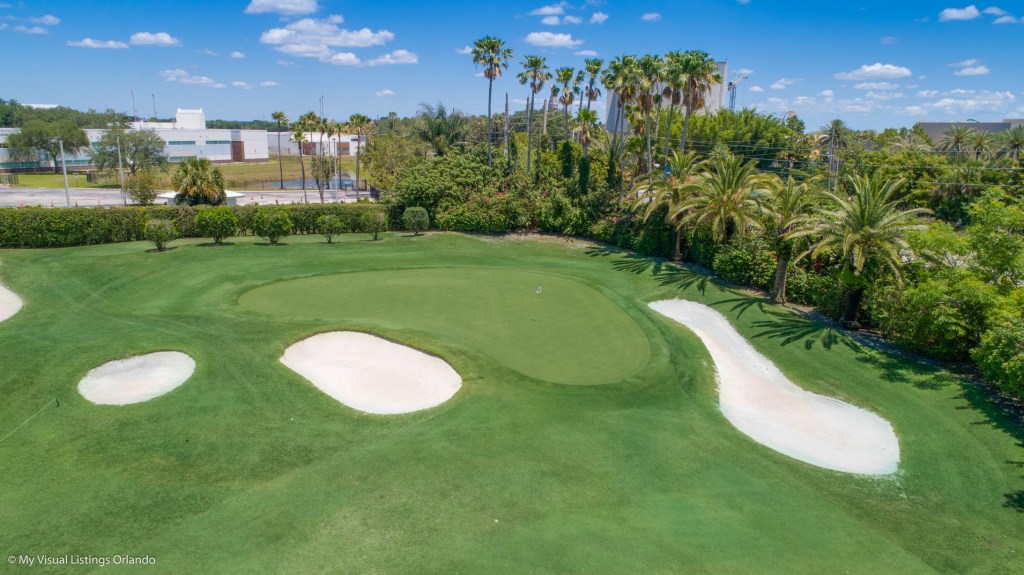
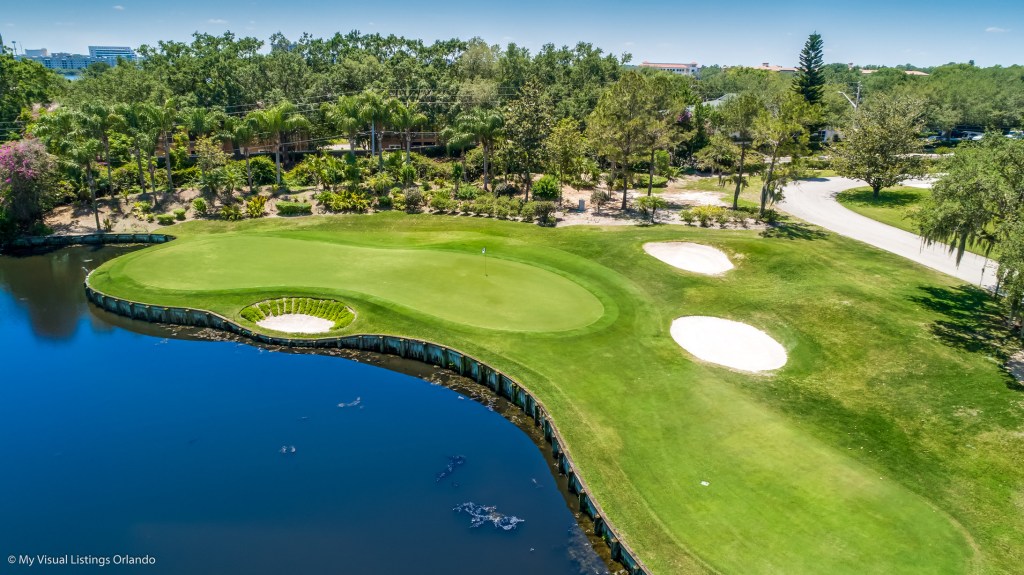
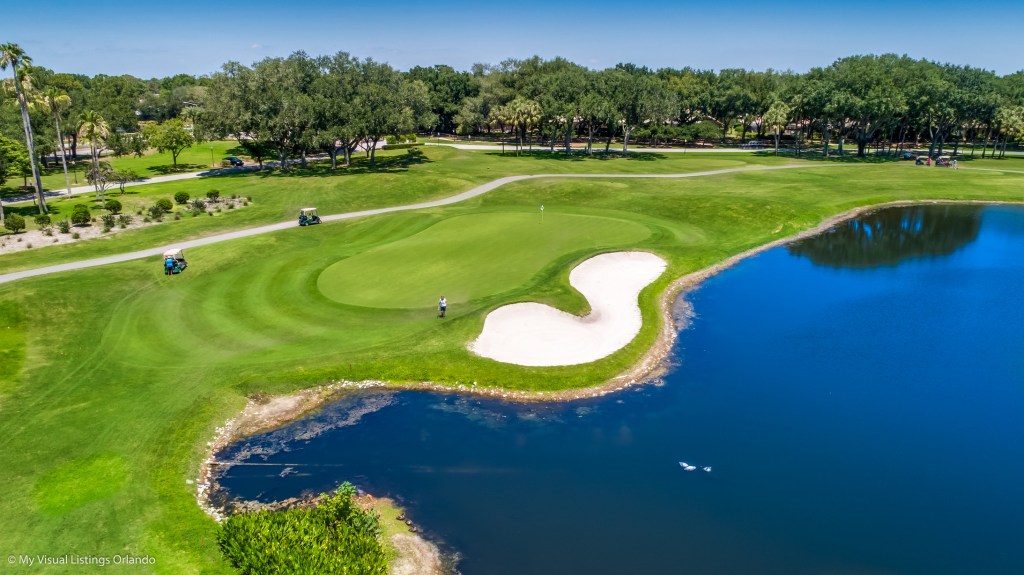
Hole #17
Par: 3
| ● 209 | ● 186 | ● 161 |
| ● 137 | ● 112 | ● 82 |
A very picturesque par 3, but stay focused on selecting the right club as short shots will find a watery grave. Get your ball pin high and you will have a good look at birdie.
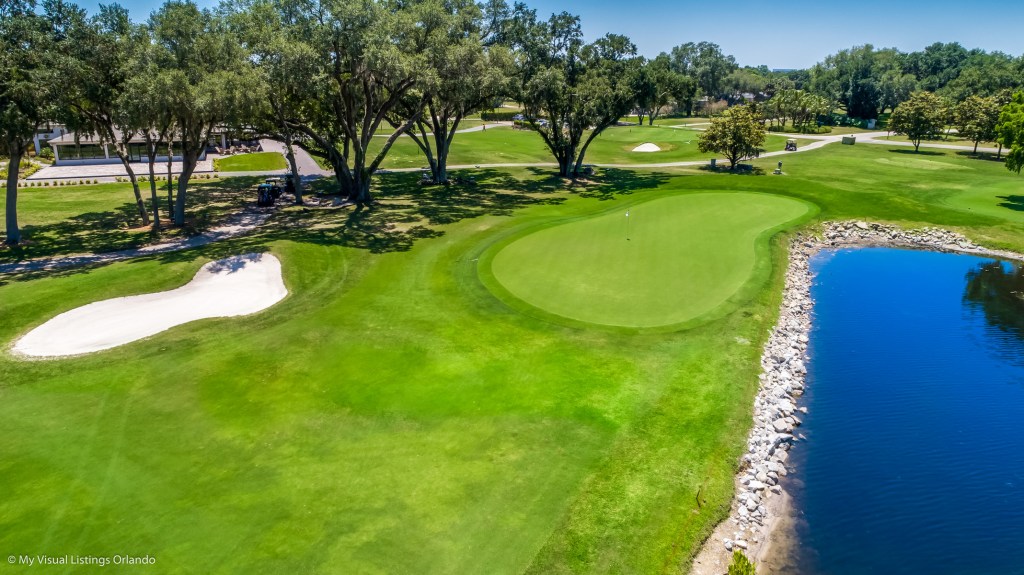
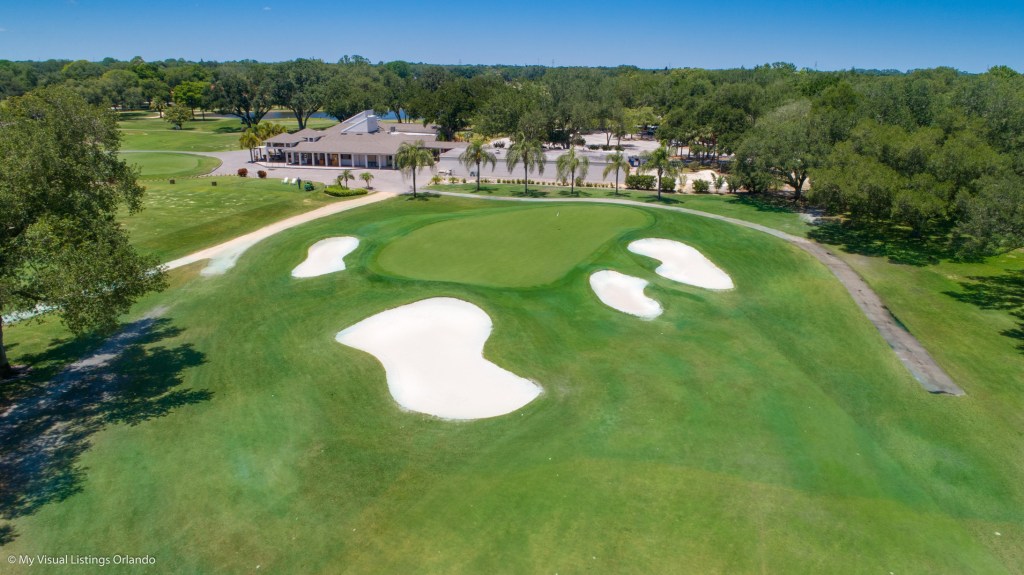
Hole #18
Par: 4
| ● 415 | ● 398 | ● 380 |
| ● 355 | ● 303 | ● 258 |
This par 4 is the second hardest hole on the course and requires a very precise tee shot with big oak trees on the left and water down the right. Keep your second shot left of the flag to avoid the water. Par is a great score here. Then celebrate with a cold beverage on our 19th hole.
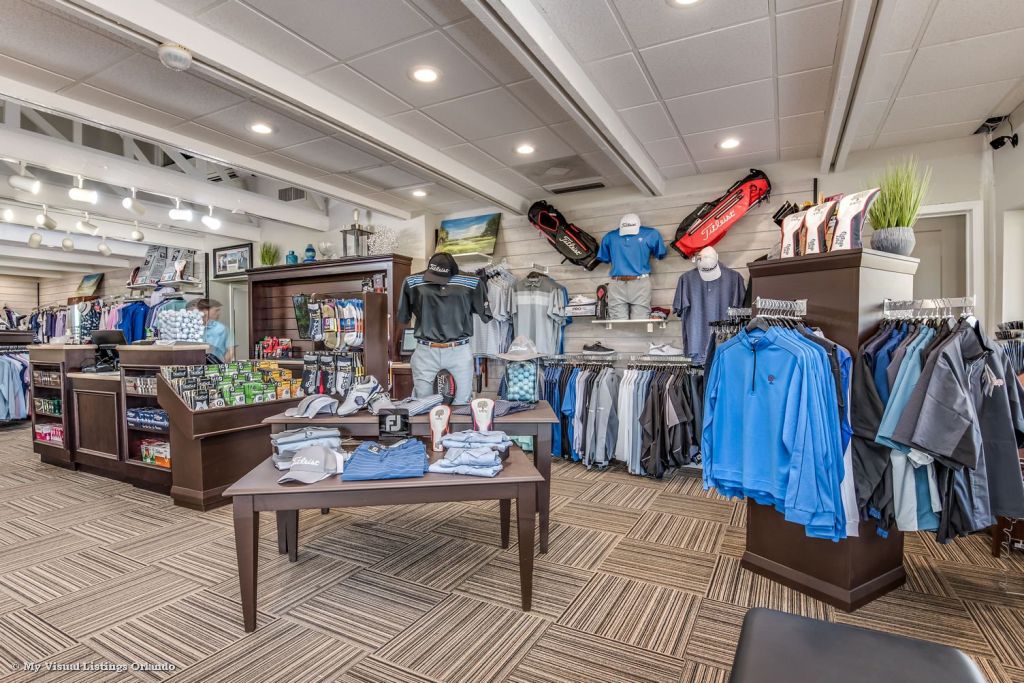
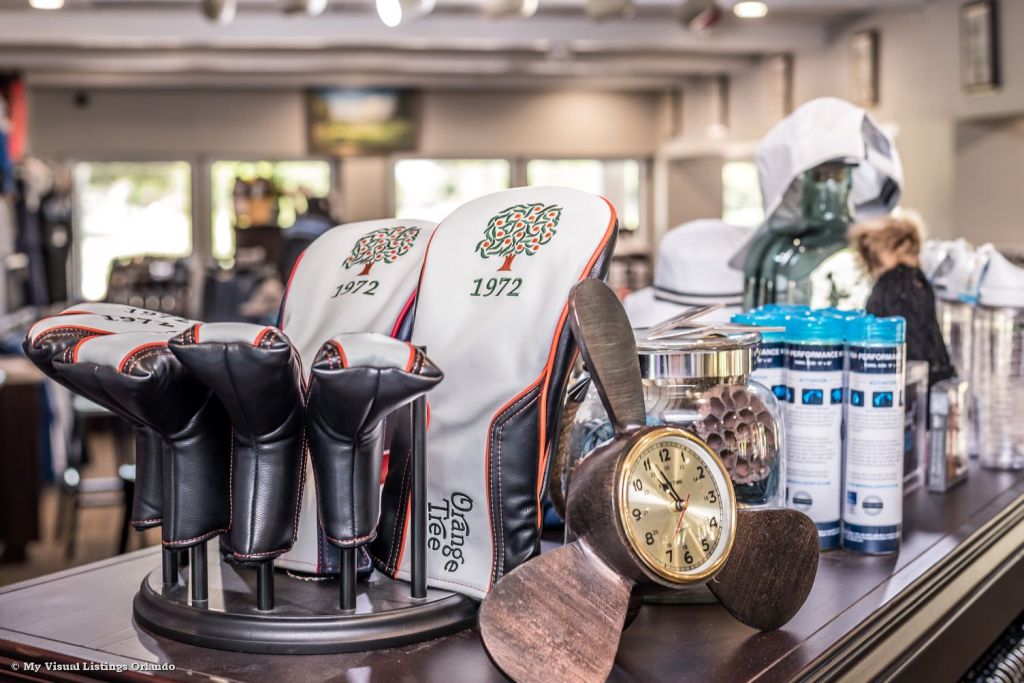
Our Pro Shop
Welcome to the Pro Shop at Orange Tree Golf Club, where our friendly and knowledgeable staff will help you with all things golf. We are pleased to offer the top brands in golf:

Our Practice Facilities
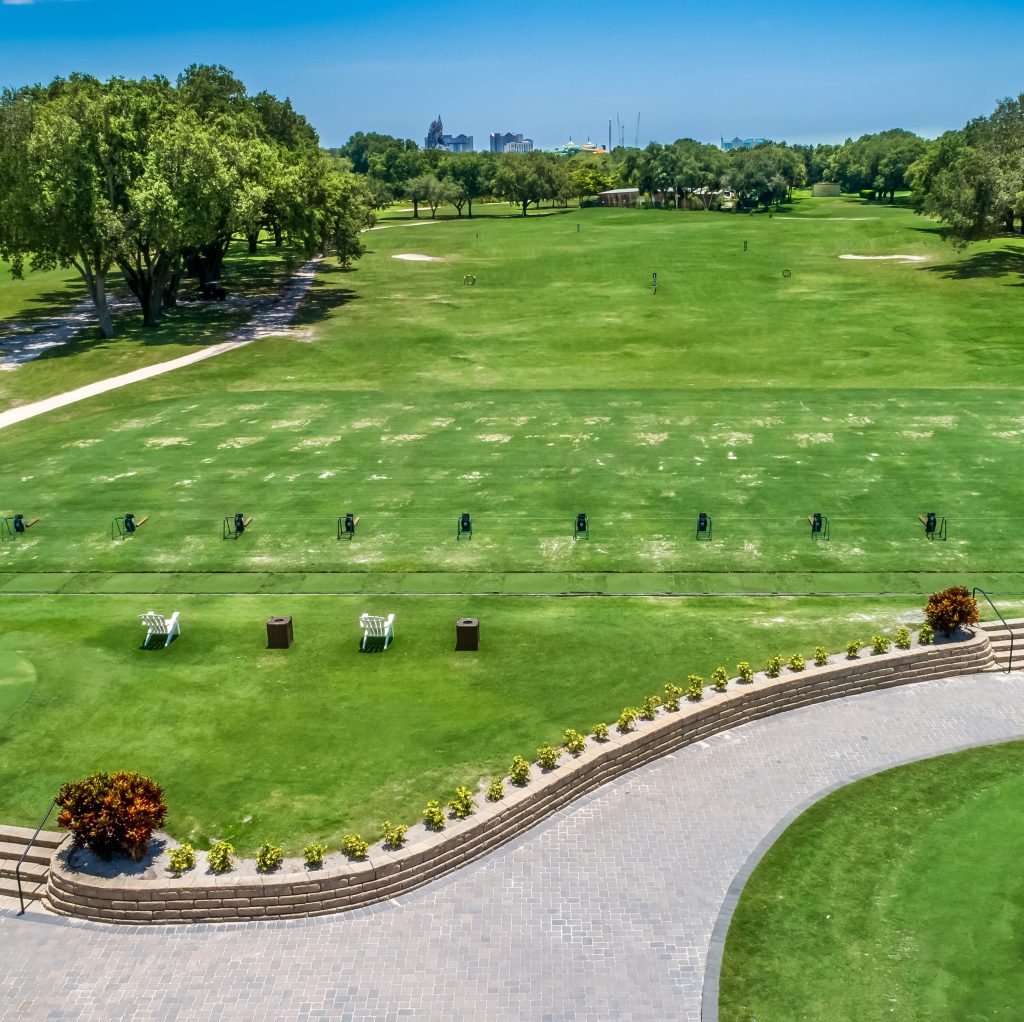
Driving Range
Our long range area is over 300 yards and features 16 hitting bays, full flight practice balls, a variety of targets, and a private teaching area for lessons.
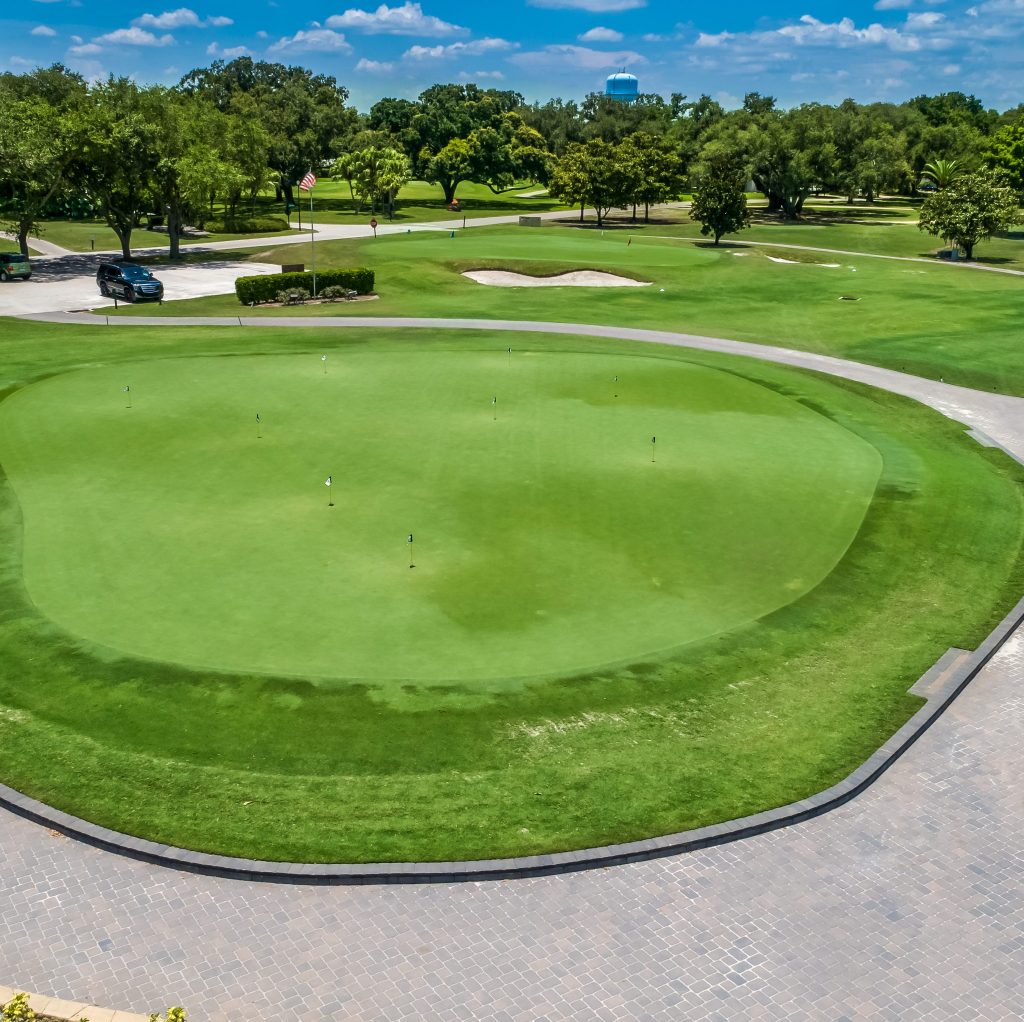
Putting Green
Our 10,000 square foot undulating putting green features the same Champion Bermuda as the golf course, so you will find a true test of what you can expect during your round.
Short Game
Our short game area features a 4000 square foot chipping green with three target flags. The landing area is leveled, providing a true test of how your pitch and chip shots are releasing toward the pin. Practice shots up to 70 yards, or sand shots in either of our two greenside bunkers.